recreation
climbing
Protection
recreation
climbing
Protection
| Home
recreation
climbing
Protection
|
Under Construction 
Contents:
Knots - Harness and tie-ins:
Harness tie-in:
How to Wear a Climbing Harness | vDiffClimbing* Screen Shot Knots: Climbing Knots - Learn How to Tie Important Climbing Knots | climbing.about.com Knots | Chockstone - Climbing Tech Tips Animated Knots by Grog | How to Tie Knots | Boating, Climbing, Search and Rescue, ... How to Tie Into a Climbing Rope | eHow.com Knots for Climbers | Needle Sports How to Tie Your Own Climbing Harness | eHow.com  Bowline with stopper or keeper knot
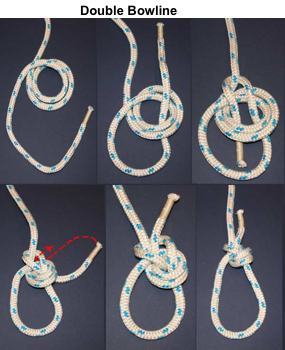
A bowline is less bulky than a figure 8 knot and many people use it. The double bowline is safer than the bowline, but the figure 8 is still the standard for tying in. The bowline has a tendency to work loose, so it is important to tie a "stopper knot". A keeper knot is also common with a figure 8 knot. Munter Hitch: A Munter Hitch is used as an emergency rappel / belay device. It's advisable to use a pear-shaped locking carabiner, and try to avoid cross-loading it. The knot will "flip" as opposite strands of the rope are pulled, this is normal. To lock the knot, apply the braking hand by moving the slack line parrel with the loaded line. See pictures below: 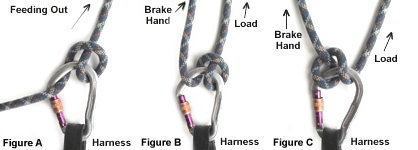 Figure A: Here you're feeding out slack when belaying, or you're abseiling down. Figure B: To lock the Munter Hitch draw your brake hand up parallel with the load line. Figure C: The knot will correctly "flip" into this position as you take in slack when belaying. See: Munter Hitch at chockstone.org and and at spadout.com | |||||||||||||||||||||||||||||||||||||||||||||||||||||||||||||||||||||||||||||||||||||||||||
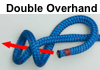
Double Fisherman's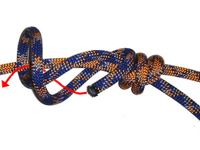
|
Tape knot or water knot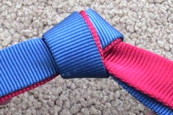
| ||||||||||||||||||||||||||||||||||||||||||||||||||||||||||||||||||||||||||||||||||||||||||
Prusik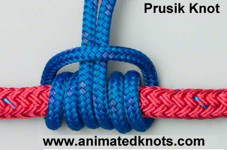
Double Bowline
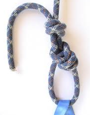
Stopper Knots are tied at the end of a rope to prevent the end from unraveling, slipping through another knot, or passing back through a hole, block or a device. |
Summary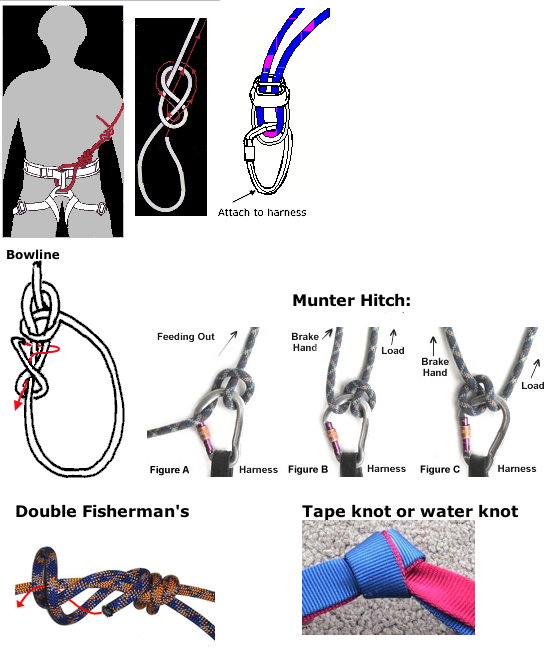
| ||||||||||||||||||||||||||||||||||||||||||||||||||||||||||||||||||||||||||||||||||||||||||
Top-Roping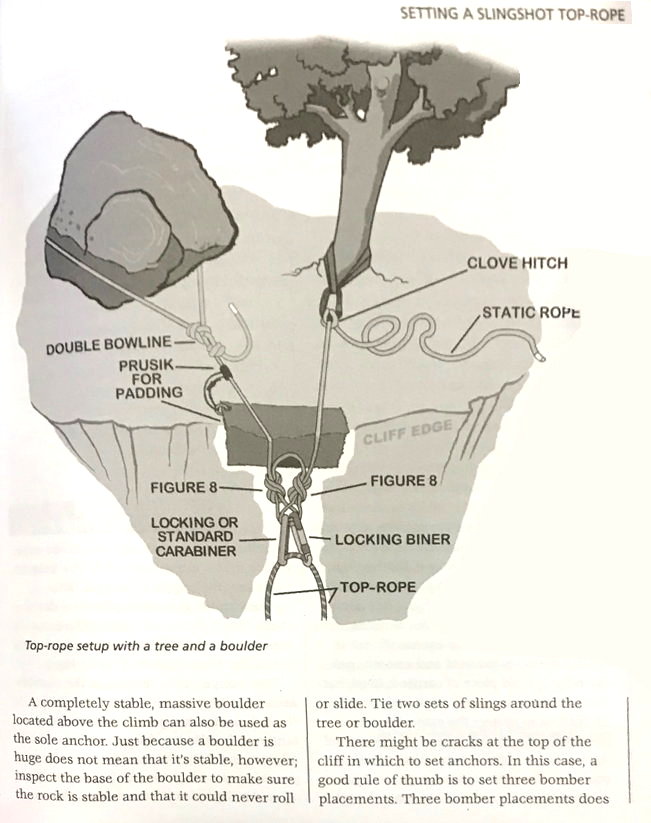 Source: Rock Climbing: Mastering Basic Skills
Equipment:
| |||||||||||||||||||||||||||||||||||||||||||||||||||||||||||||||||||||||||||||||||||||||||||
|
Protection Devices: Protection devices, collectively known as rock protection or pro, provide the means to place temporary anchor points on the rock. They can be categorized as two basic types passive (e.g., Nuts, Chocks) These usually go by trade names such as Stoppers, Hexcentrics or Friends or active (e.g., Cams or Spring Loaded Camming Devices [SLCDs] and some uses of tricams). They are much more fragile. 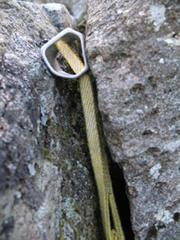 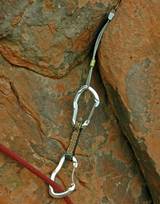 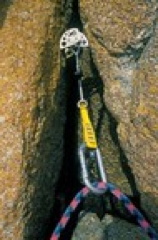 See: Rock-climbing equipment > Protection Devices- Wikipedia Traditional Climbing Protection | myoan.net To get a range from 0.5 to 1.5 in you need 2 SLCDs ($120), 3 Tri Cams (0.4-1.61") ($72), 3 Hexentrics (0.45-1.54") ($38) or 4 Stoppers ($40).
Of course if you're leading a 5.10 the convenience of not having to fumble thru your rack to select the right size stopper is a plus. Why buy passive protection when spring loaded camming devices (SLCDs) are so secure and easy to place? There are actually several reasons:
|
| ||||||||||||||||||||||||||||||||||||||||||||||||||||||||||||||||||||||||||||||||||||||||||
Strength - Forces Protection components must be strong enough to avoid failure.
For traditional climbing this means supporting a leader fall which can generate forces in the range of 8kN (1 kiloNewton = 225 lbs.). Impact force is determined by climber weight, fall distance and the length of time over which the fall is stopped. Lead climbing ropes (dynamic ropes) allow a certain amount of stretch to spread the force out over time. The impact force must not exceed 12 kN. The belayer will allow some slippage also, which also reduces the impact. The breaking force of the human body is 12 kN. It can tolerate higher forces for very short (fractions of a second) periods of time. American National Standards Institute (ANSI) and the American Society of Safety Engineers (ASSE) uses a Maximum arrest force (MAF) of KN as a standard.
The amount of stretch depends on the total length of rope, climber weight and fall distance. Maximum allowed is 40%, most are around 30%. As a rope
receives repeated falls it loses elasticity.
The Union Internationale Des Association D'Apinisme (UIAA) now CE (EU standards designation) provides a testing standard for climbing ropes. To pass the minimum requirements, ropes must not break after 5 test falls with 12 kN impact force. Fall ratings are governed by the UIAA (International Union of Alpine Associations) who issues standards that ropes must meet to become "CE" certified. Some standards.
See:
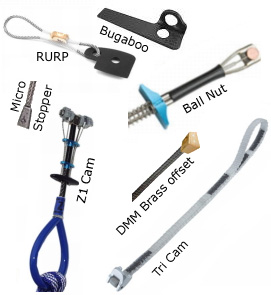
Thin-crack protection:
See also: Pecker thin-aid tools Black Diamond Micro Camalots vs Colorado Custom Hardware (CCH) Aliens (Note: Micro Camalots have been discontinued)
Note: Leader falls can generate forces in the range of 8kN, so these devices are not designed for this kind of protection unless used in combination. My minimal collection to cover a broad range and demonstrate types:
Usage Guide:
Manufacturers:
Links: Return to climbing
| |||||||||||||||||||||||||||||||||||||||||||||||||||||||||||||||||||||||||||||||||||||||||||

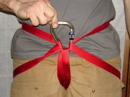 Harnesses from webbing: